
Suspension, Steering Link & Pedal Box
So here we are with the first day of class.
The first thing you’ll notice is that I am very light on front suspension notes. This is because it was day one of class. I was also hungover.
I was also in a bit of disarray after landing in Detroit, renting a car, driving to Flint, MI and realizing that where I was staying was probably the worst neighborhood in Flint. More on my dinner plans later.

Day 1 - 12:00 PM Front suspension and lots of relaxed legs by lunch break. The first hour was meet and greet, talk shop rules and agenda. From about 9:30ish.
Front Suspension
There’s plenty in the book (I may say book but I mean instruction manual - its 600 pages I hear) about this but…
Make sure the arm parts and splindles are all oriented correctly before installing the arms.
No backwards spindles.
There is a slightly angled orientation to the outermost arm connectors. They are a triangular shape with rounded corners that have a definite orientation.
If its summer and Arizona like it is here, and even at class in Michigan a few weeks back, do the sub assembly work for each side in the house instead of your garage. You can work at a table inside, just beware of scratches on your favorite dining room table.


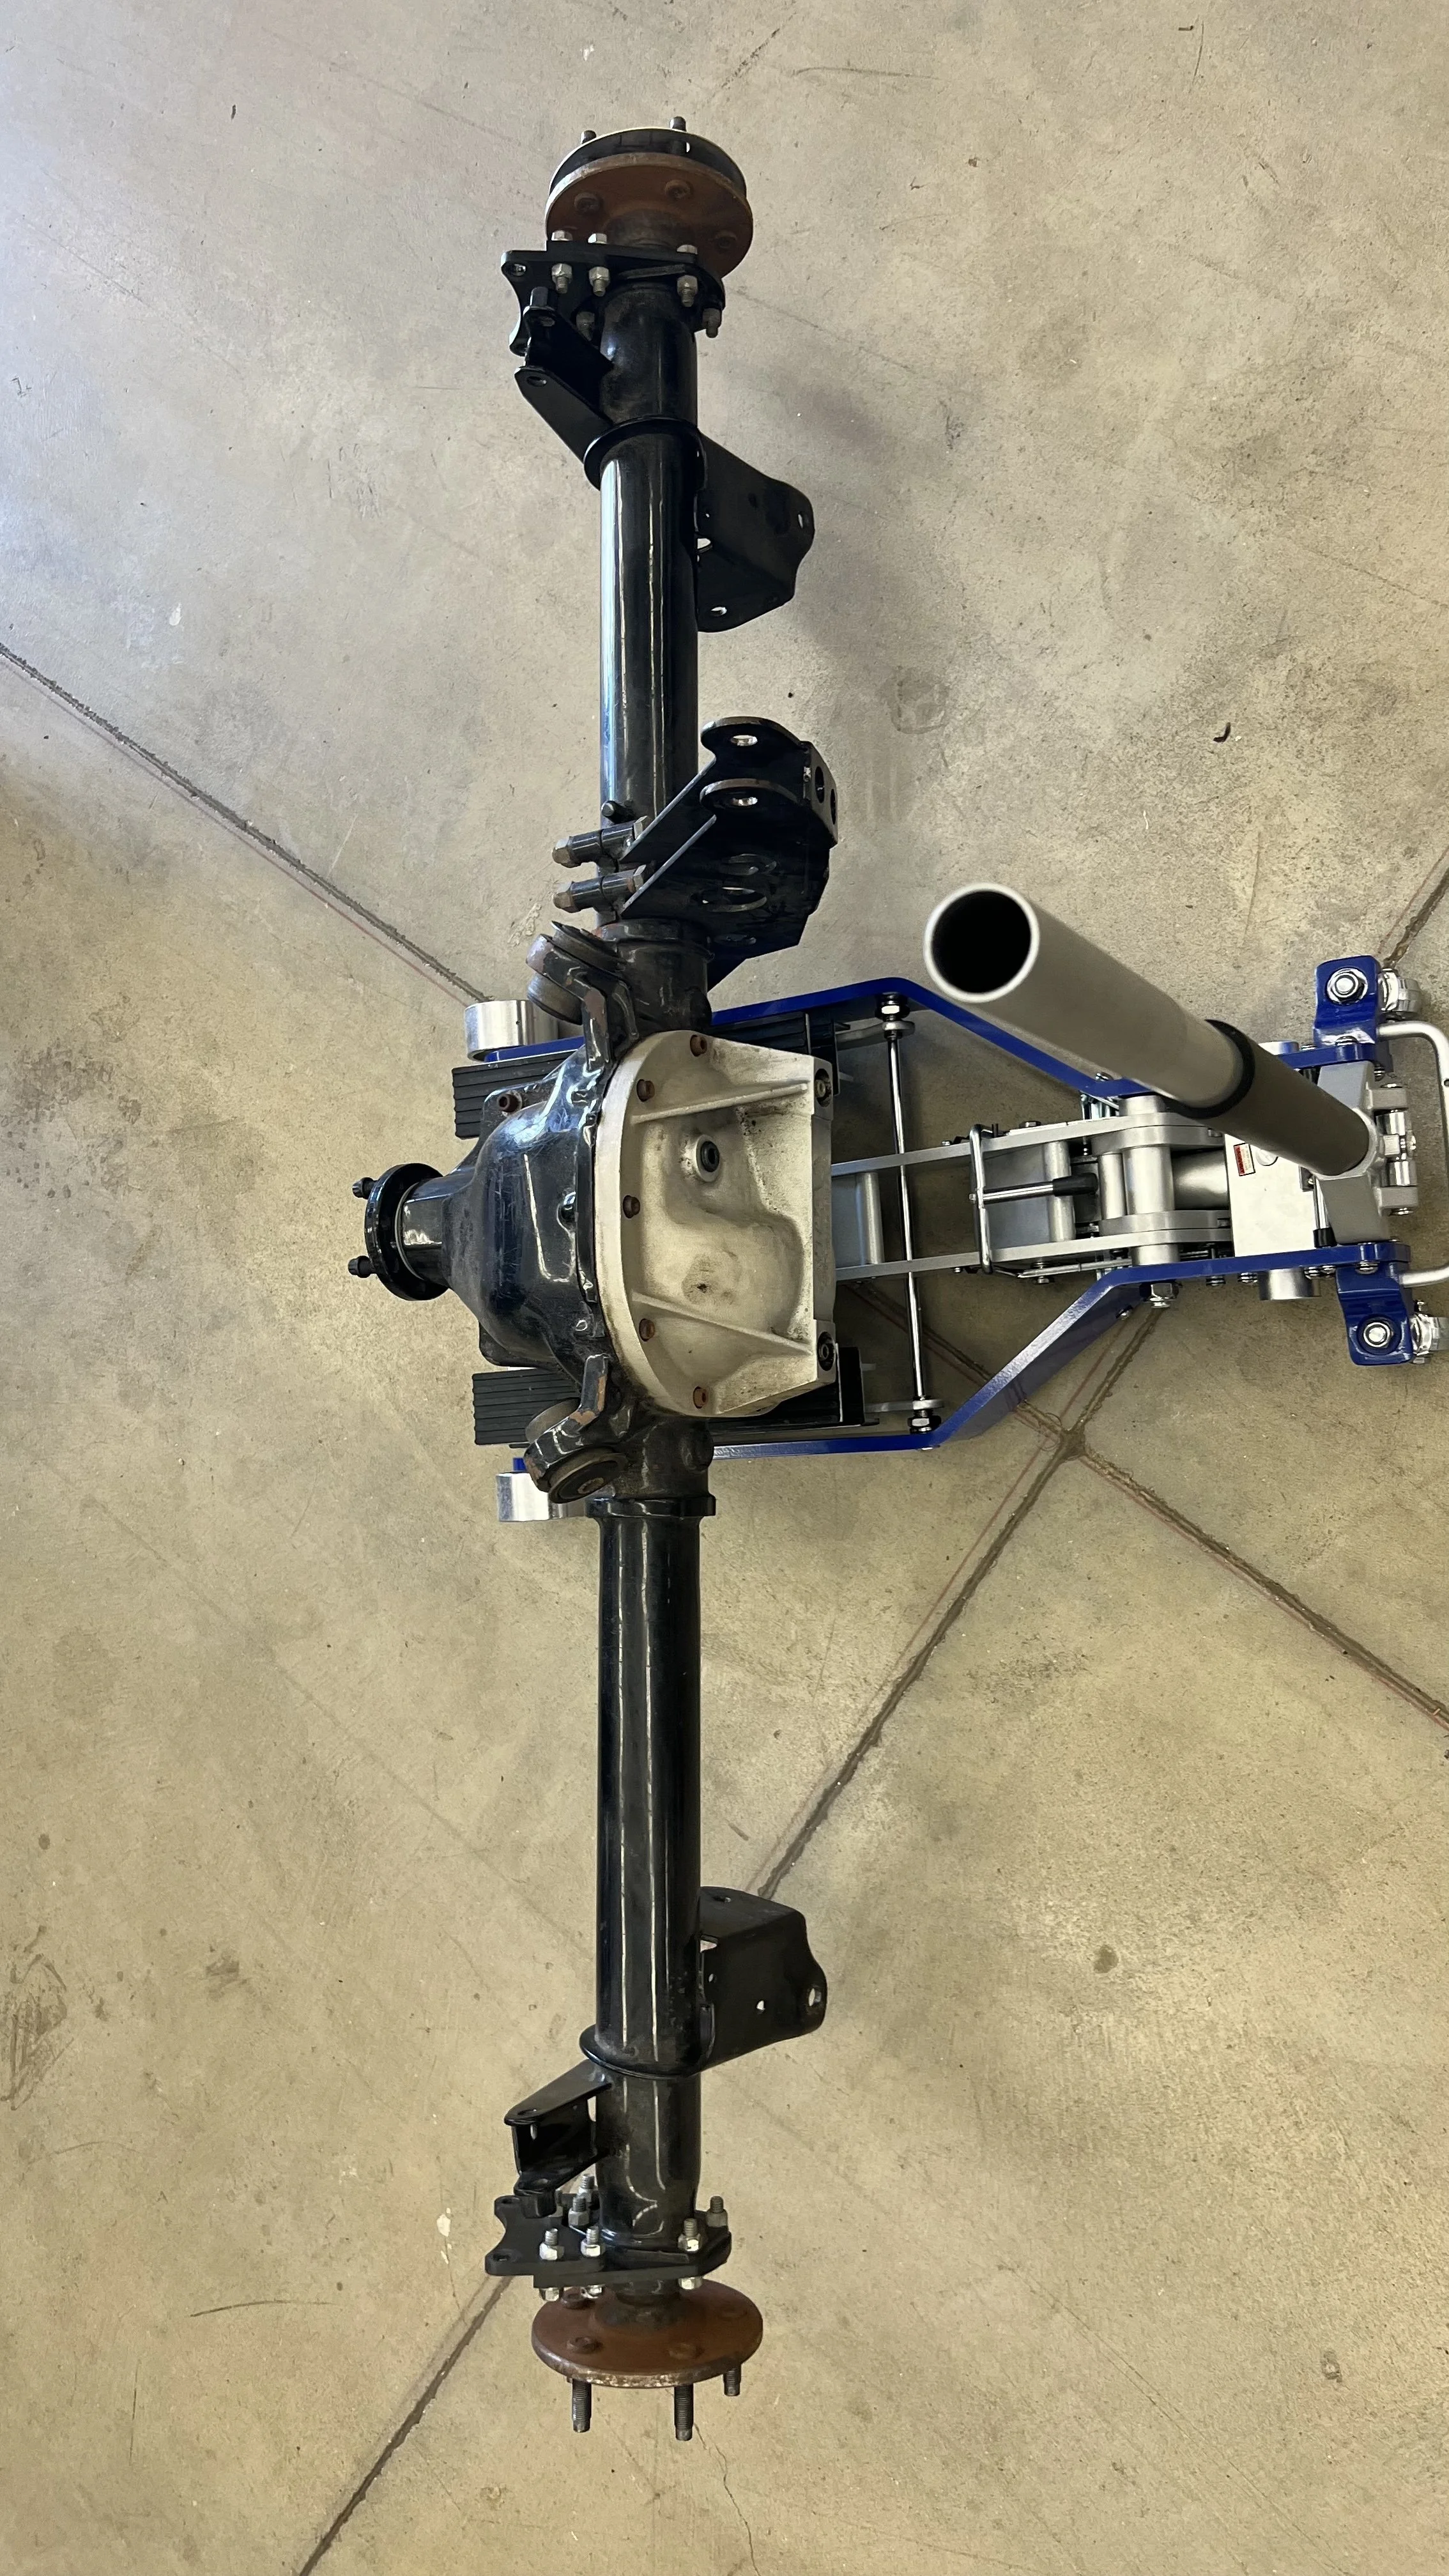
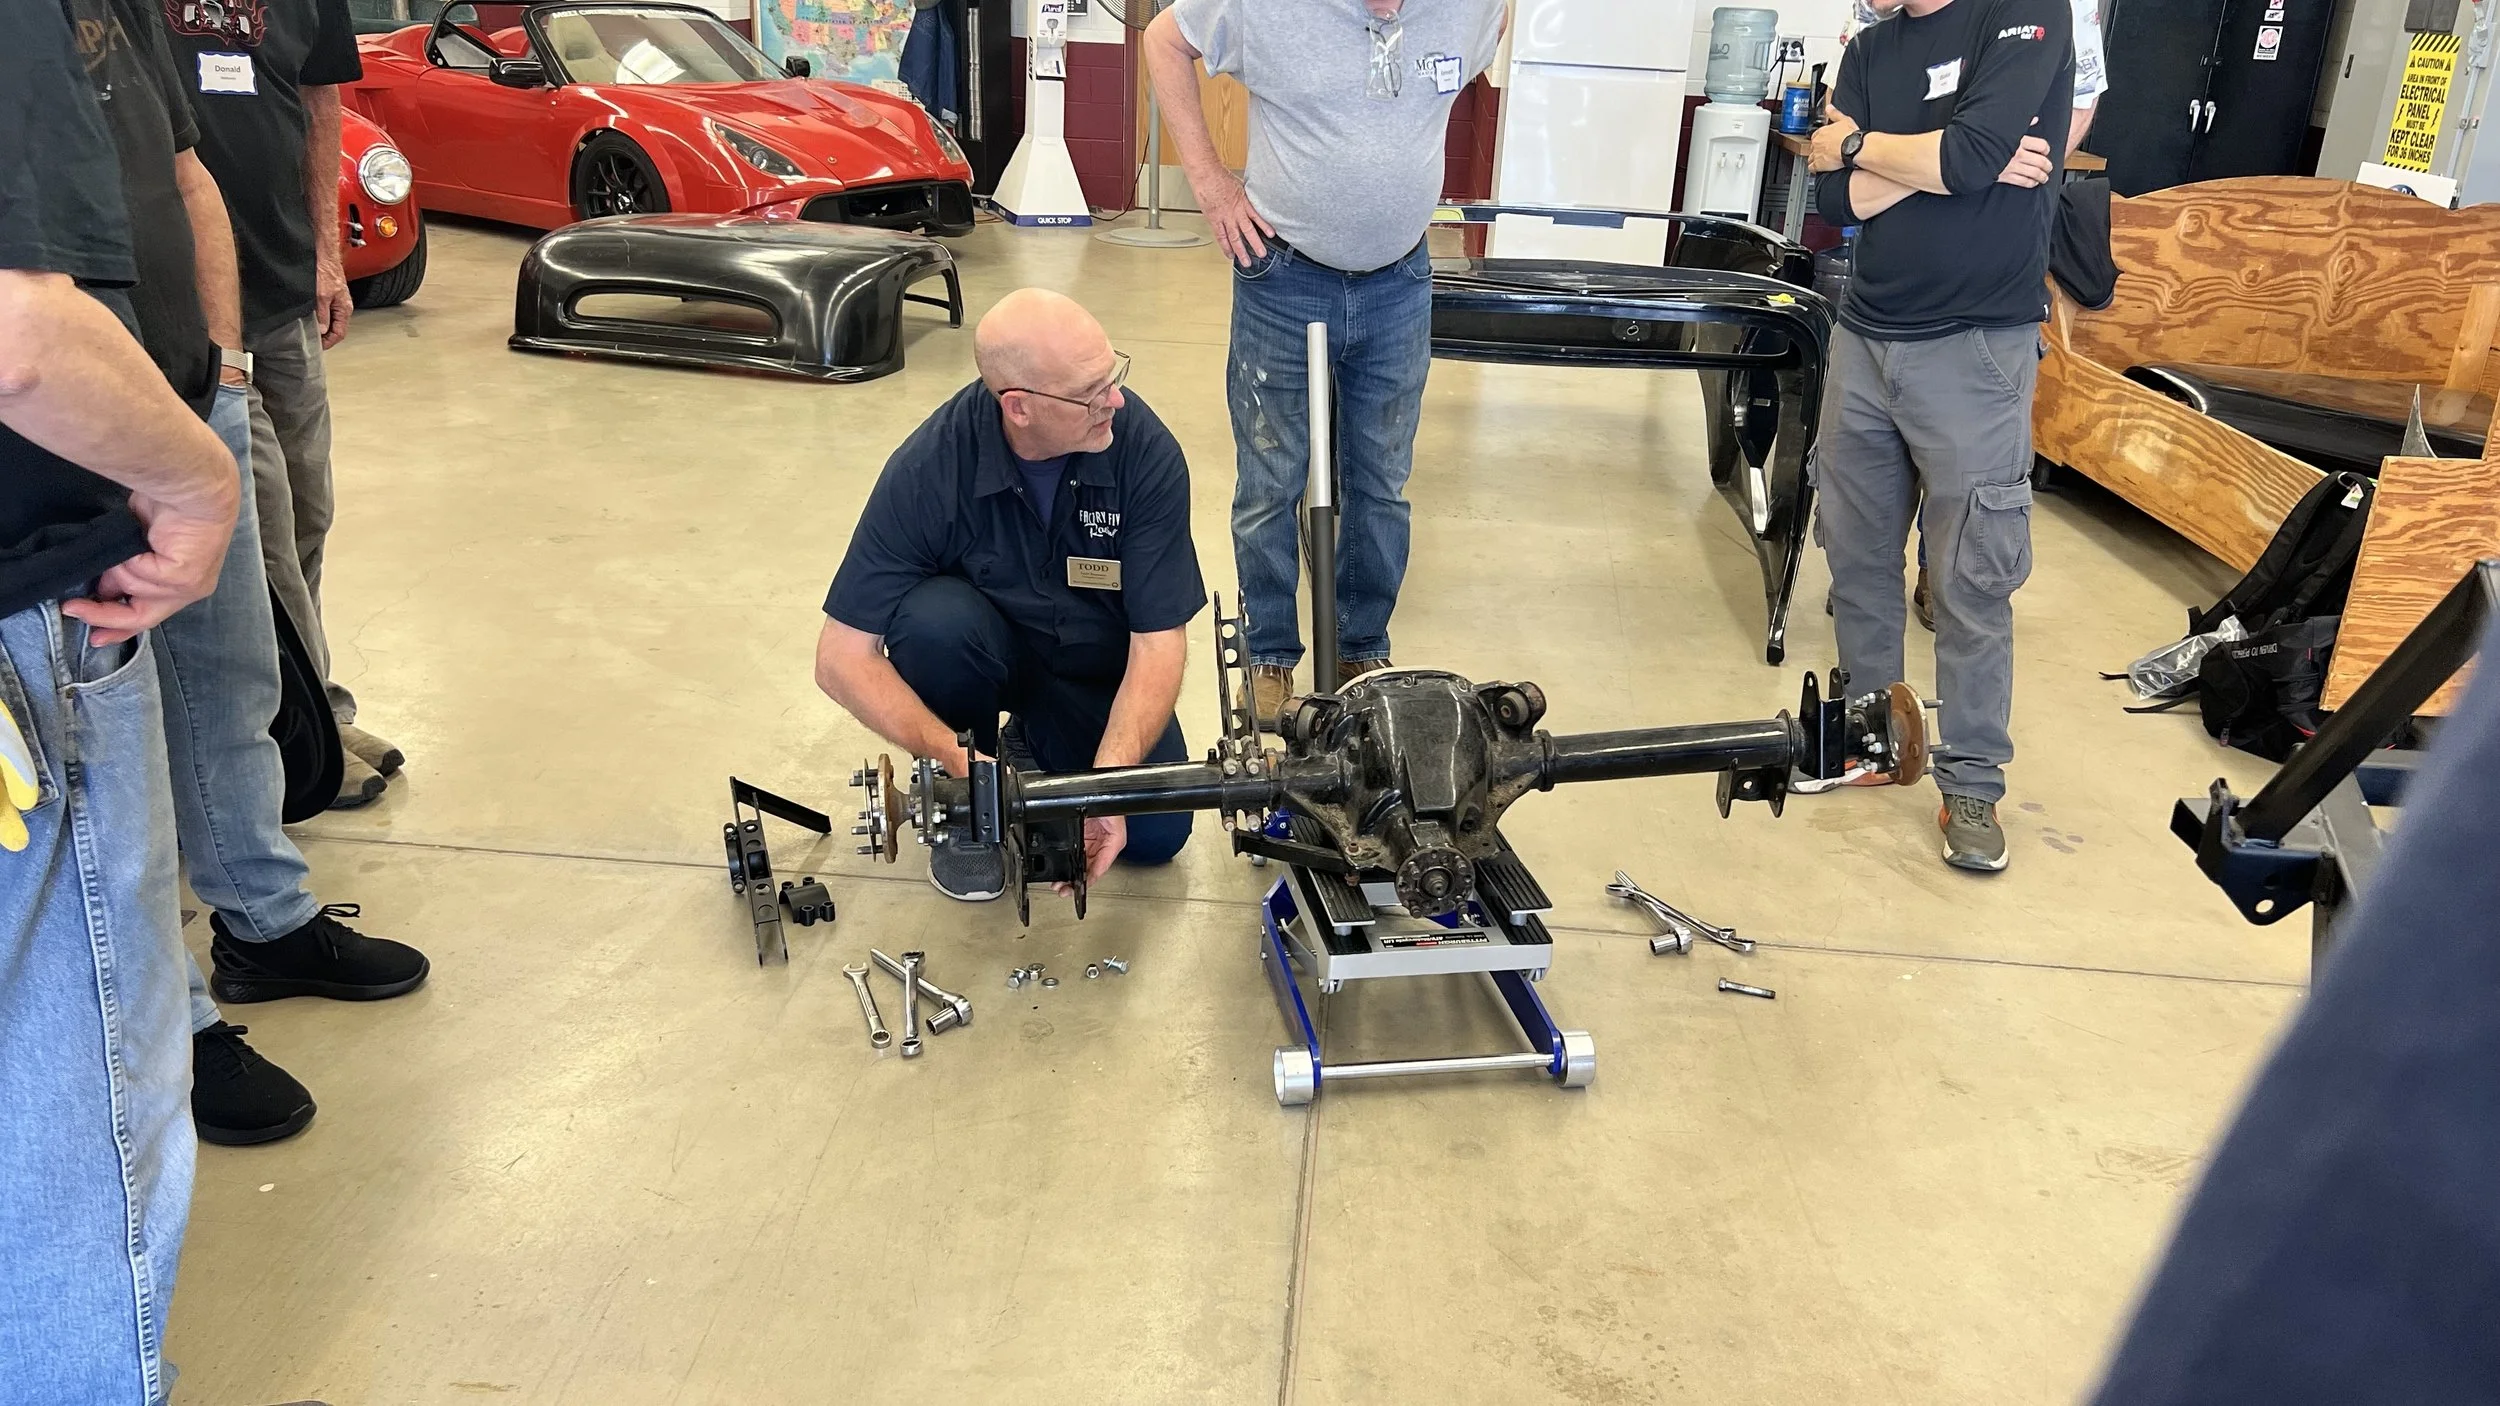
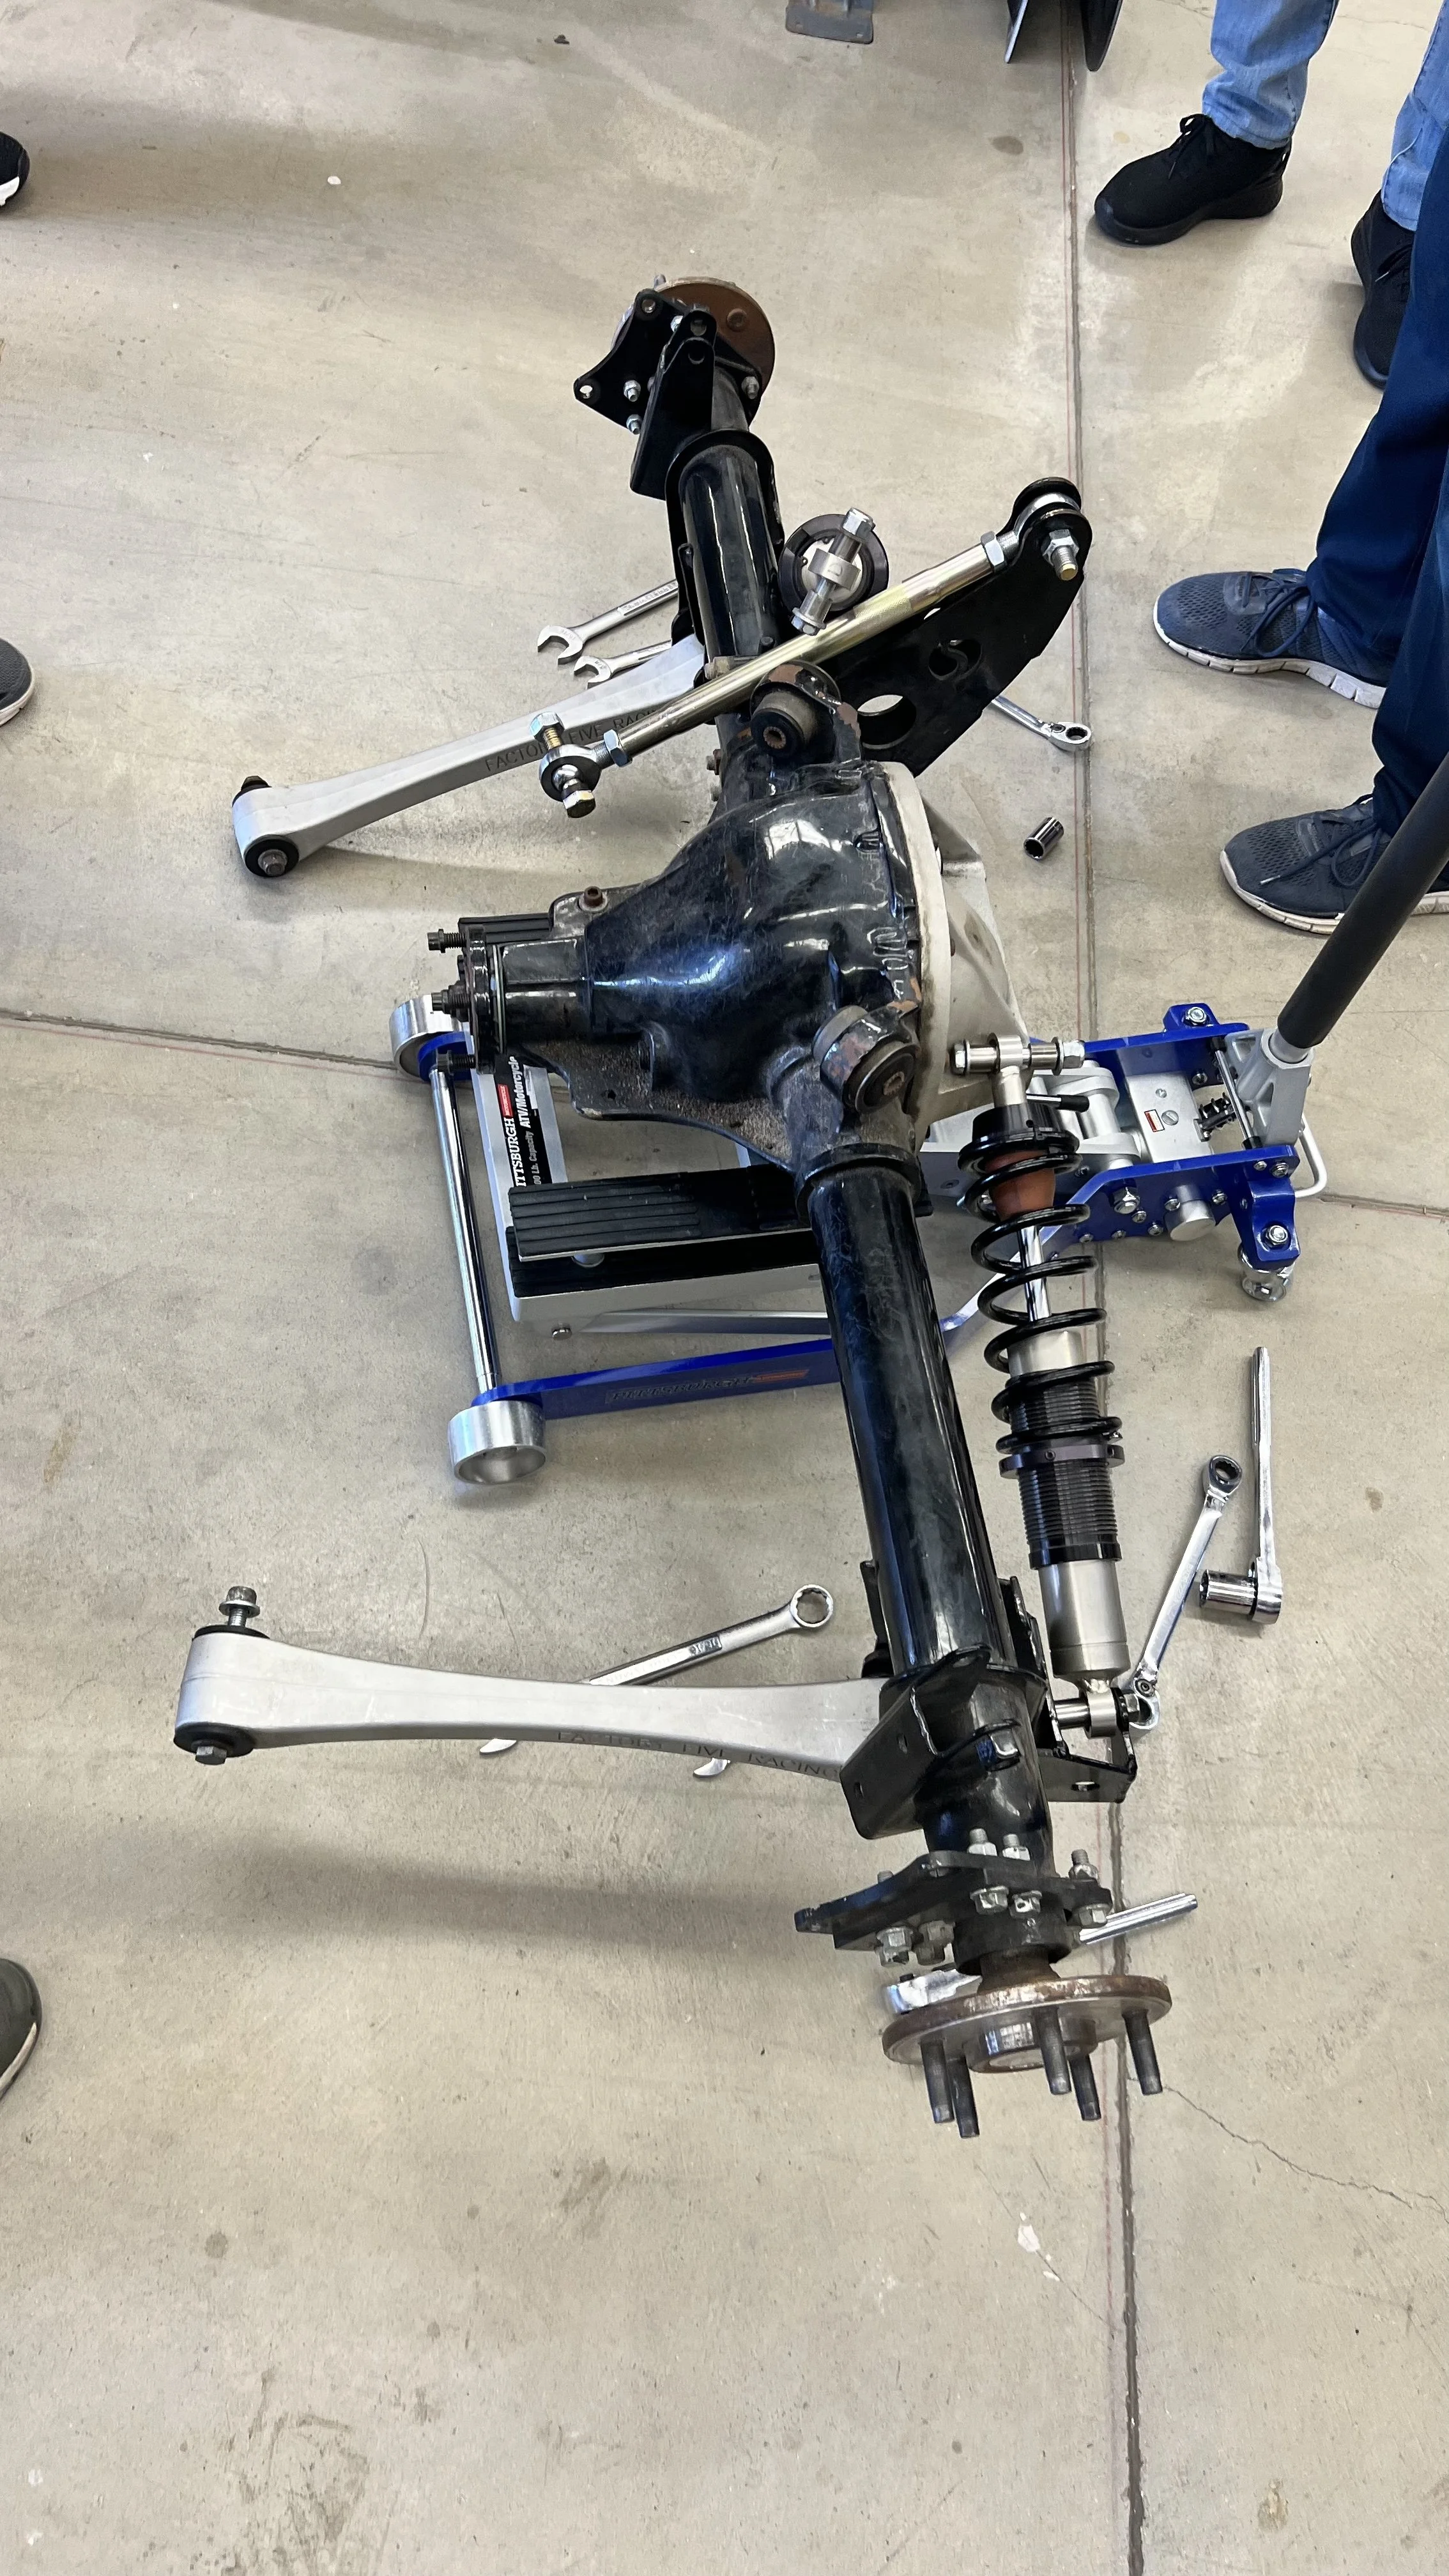
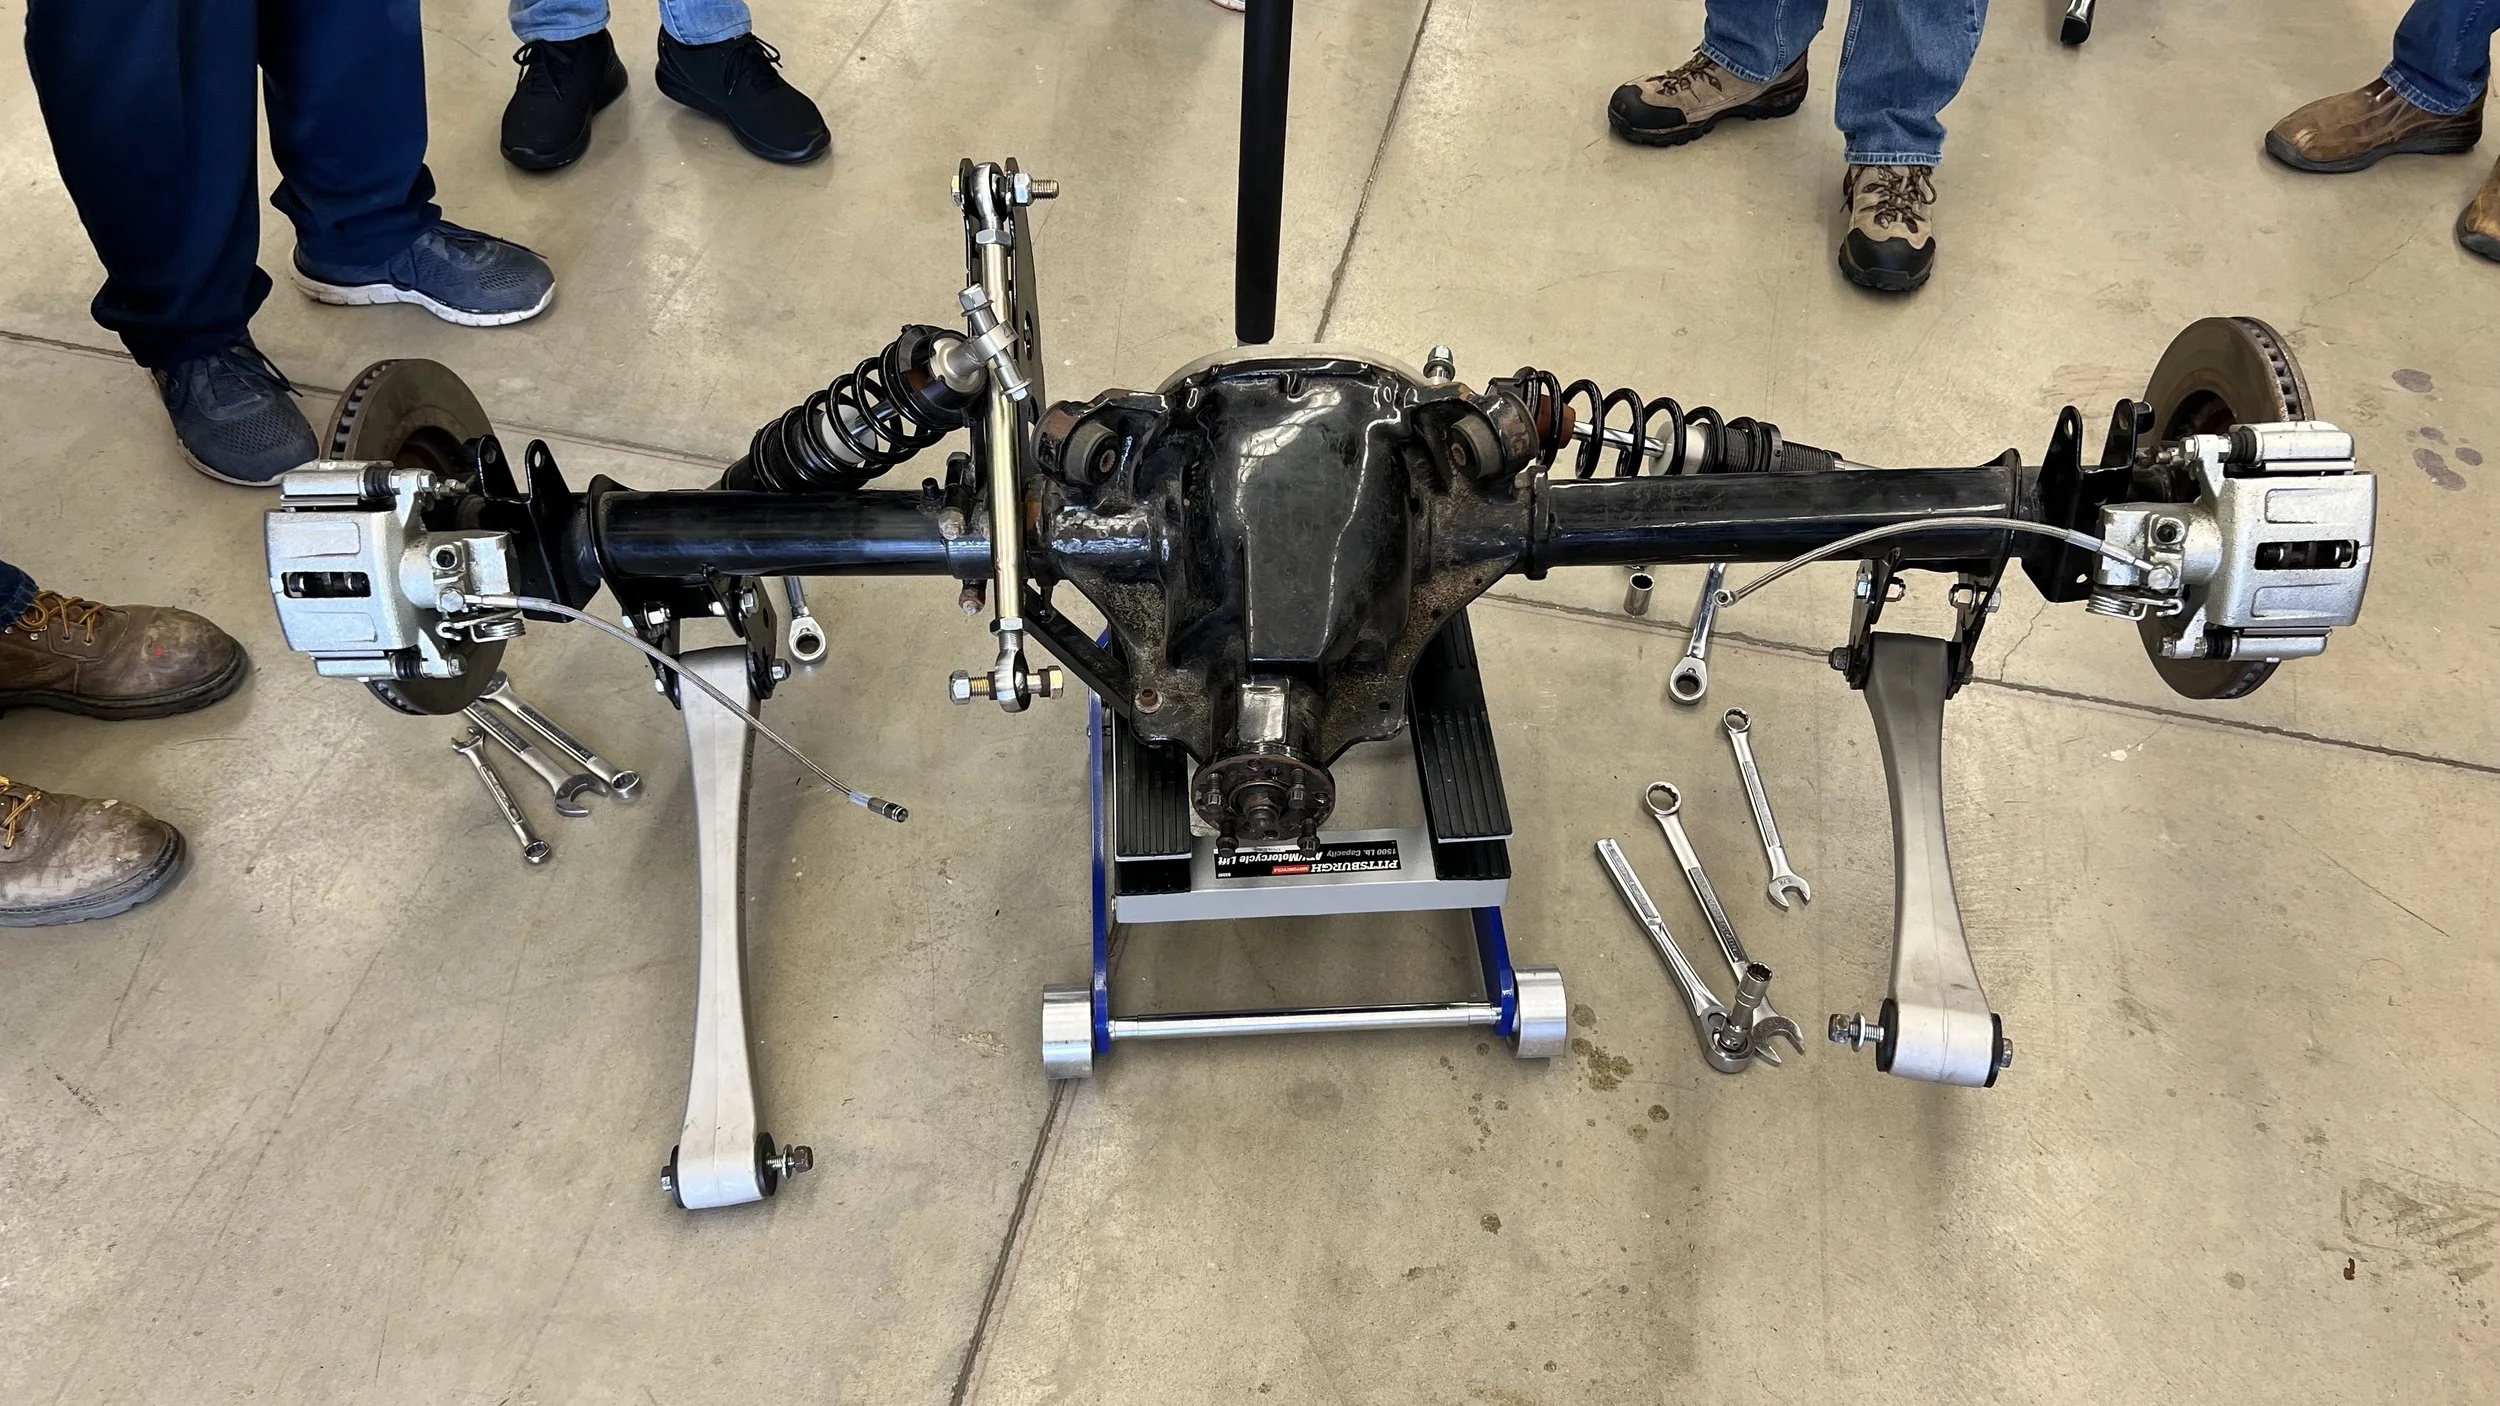
Rear Suspension

Day 1 - 2:11 PM 3-Link rear end assembled.
You have options.
3 Link
4 Link
Independent Rear Suspension
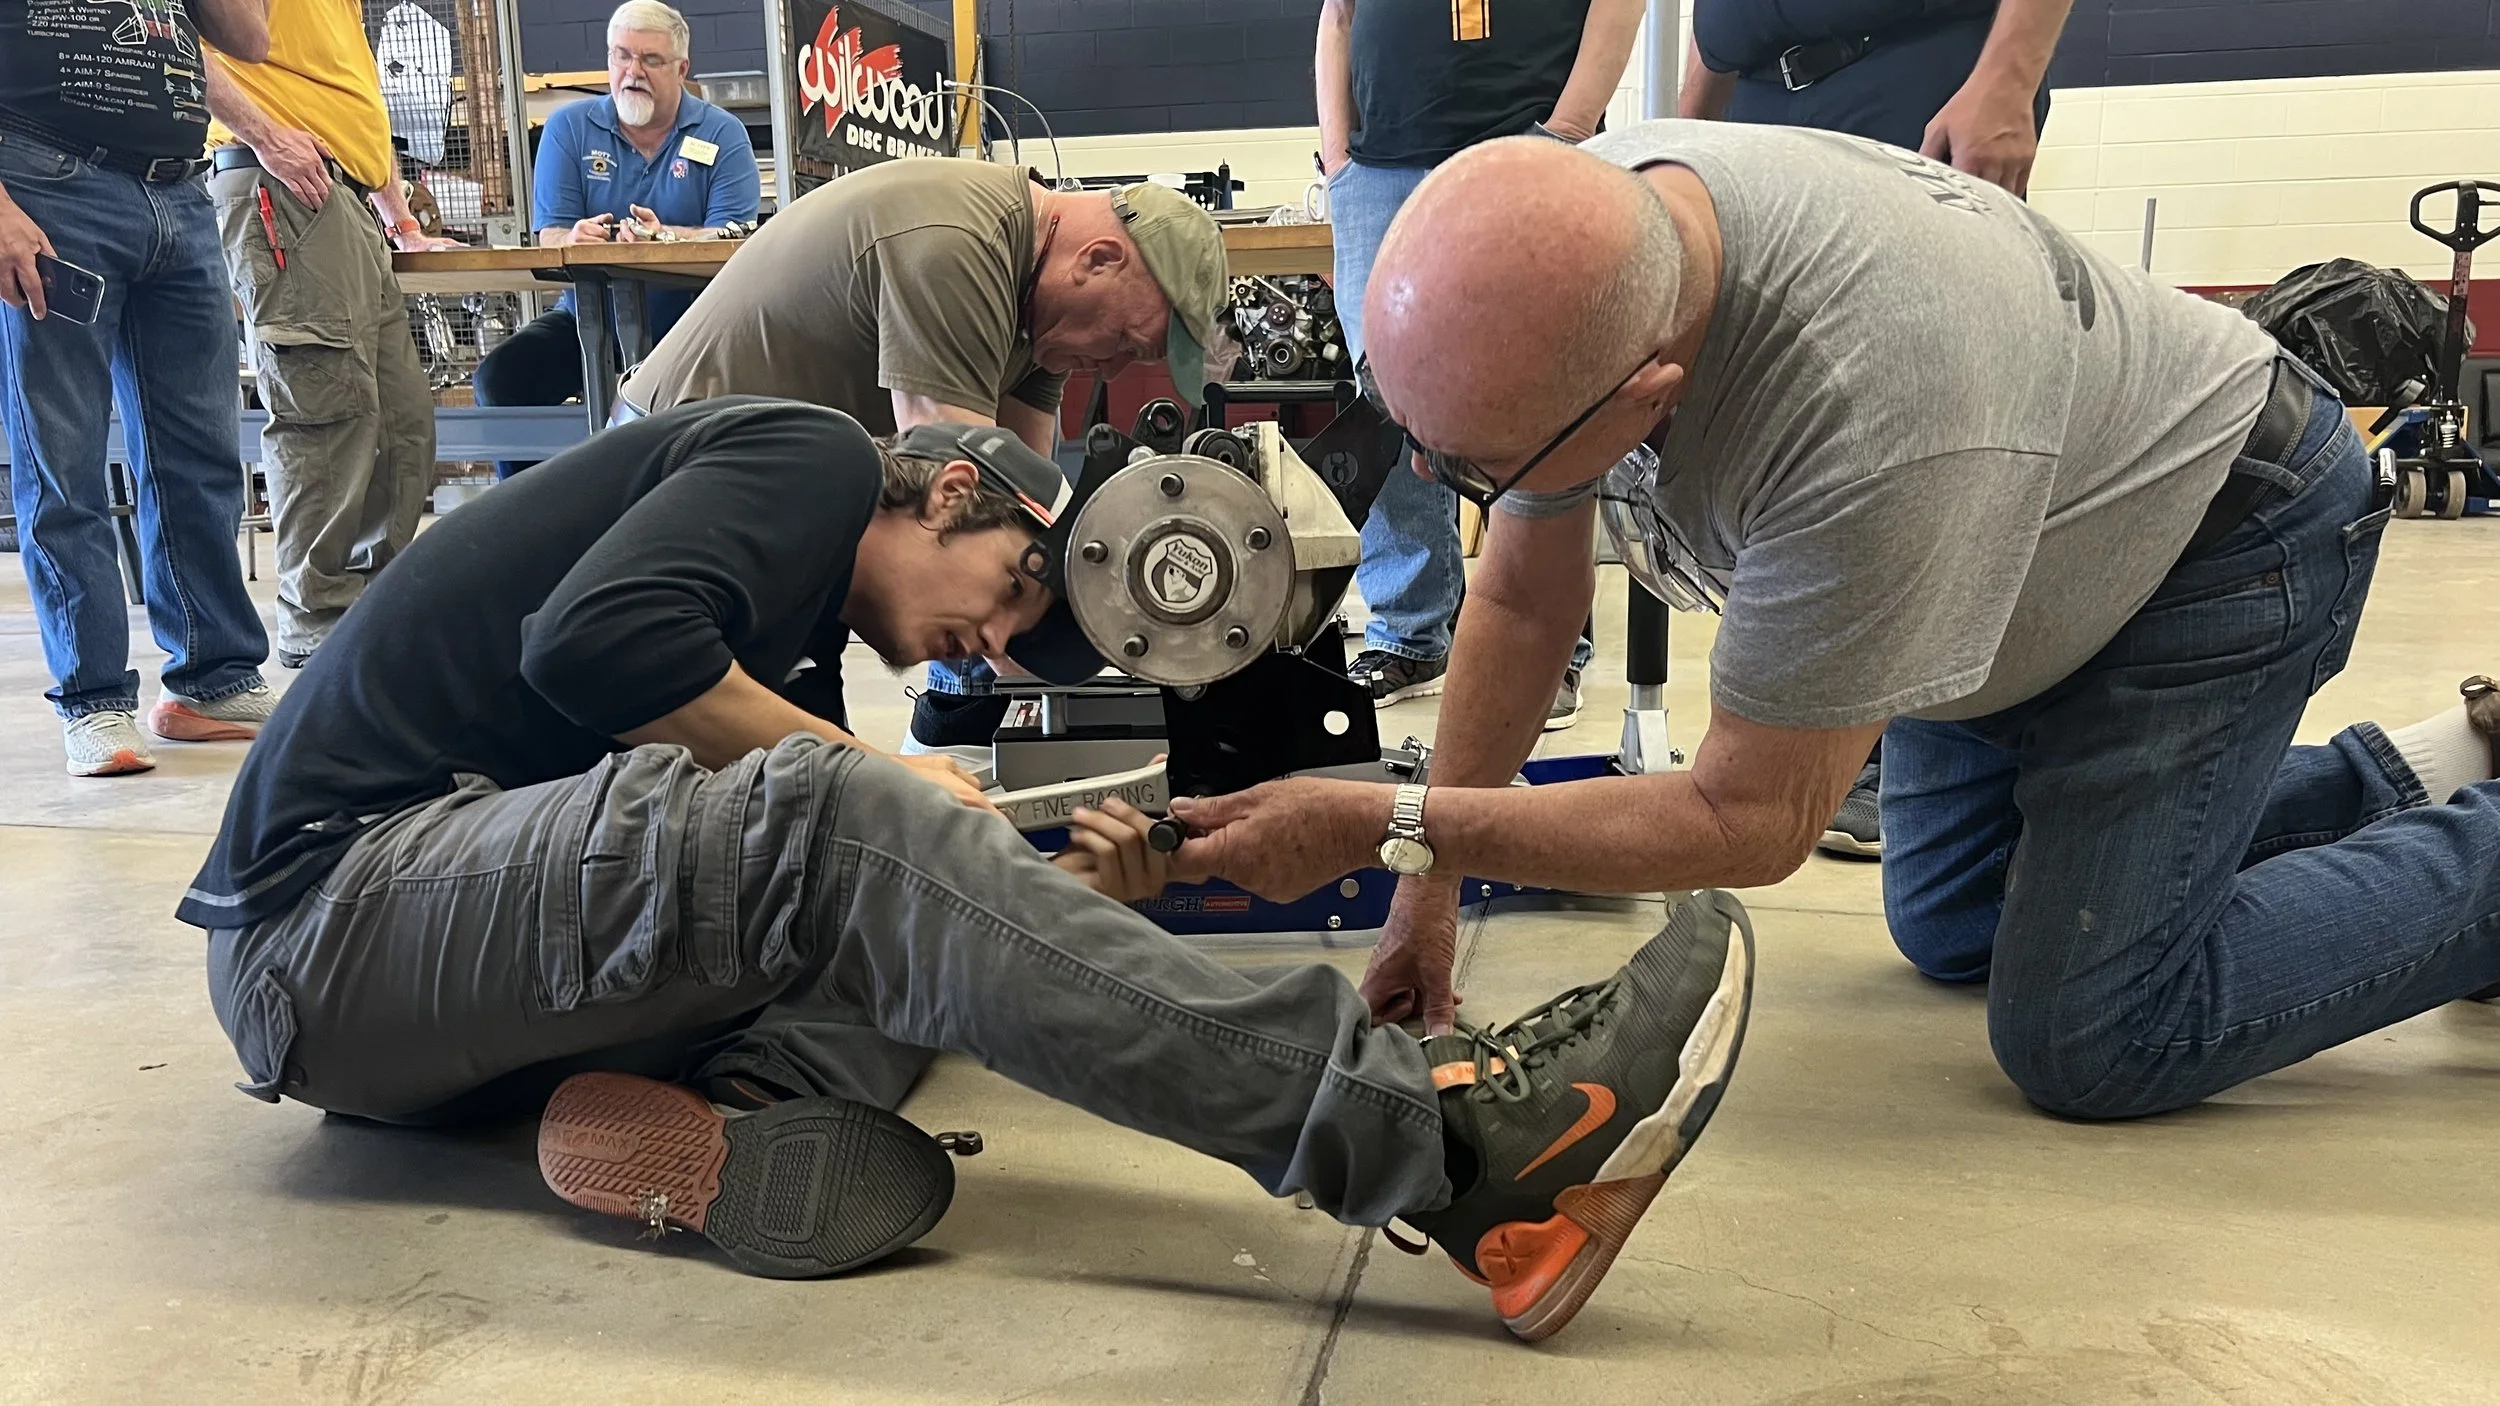
In class we had the 3 Link for installation, but there was also an IRS on a mount to inspect. The instructors took one of the tubular cobra frames and cut it up to make a suspension lift. Pretty clever.
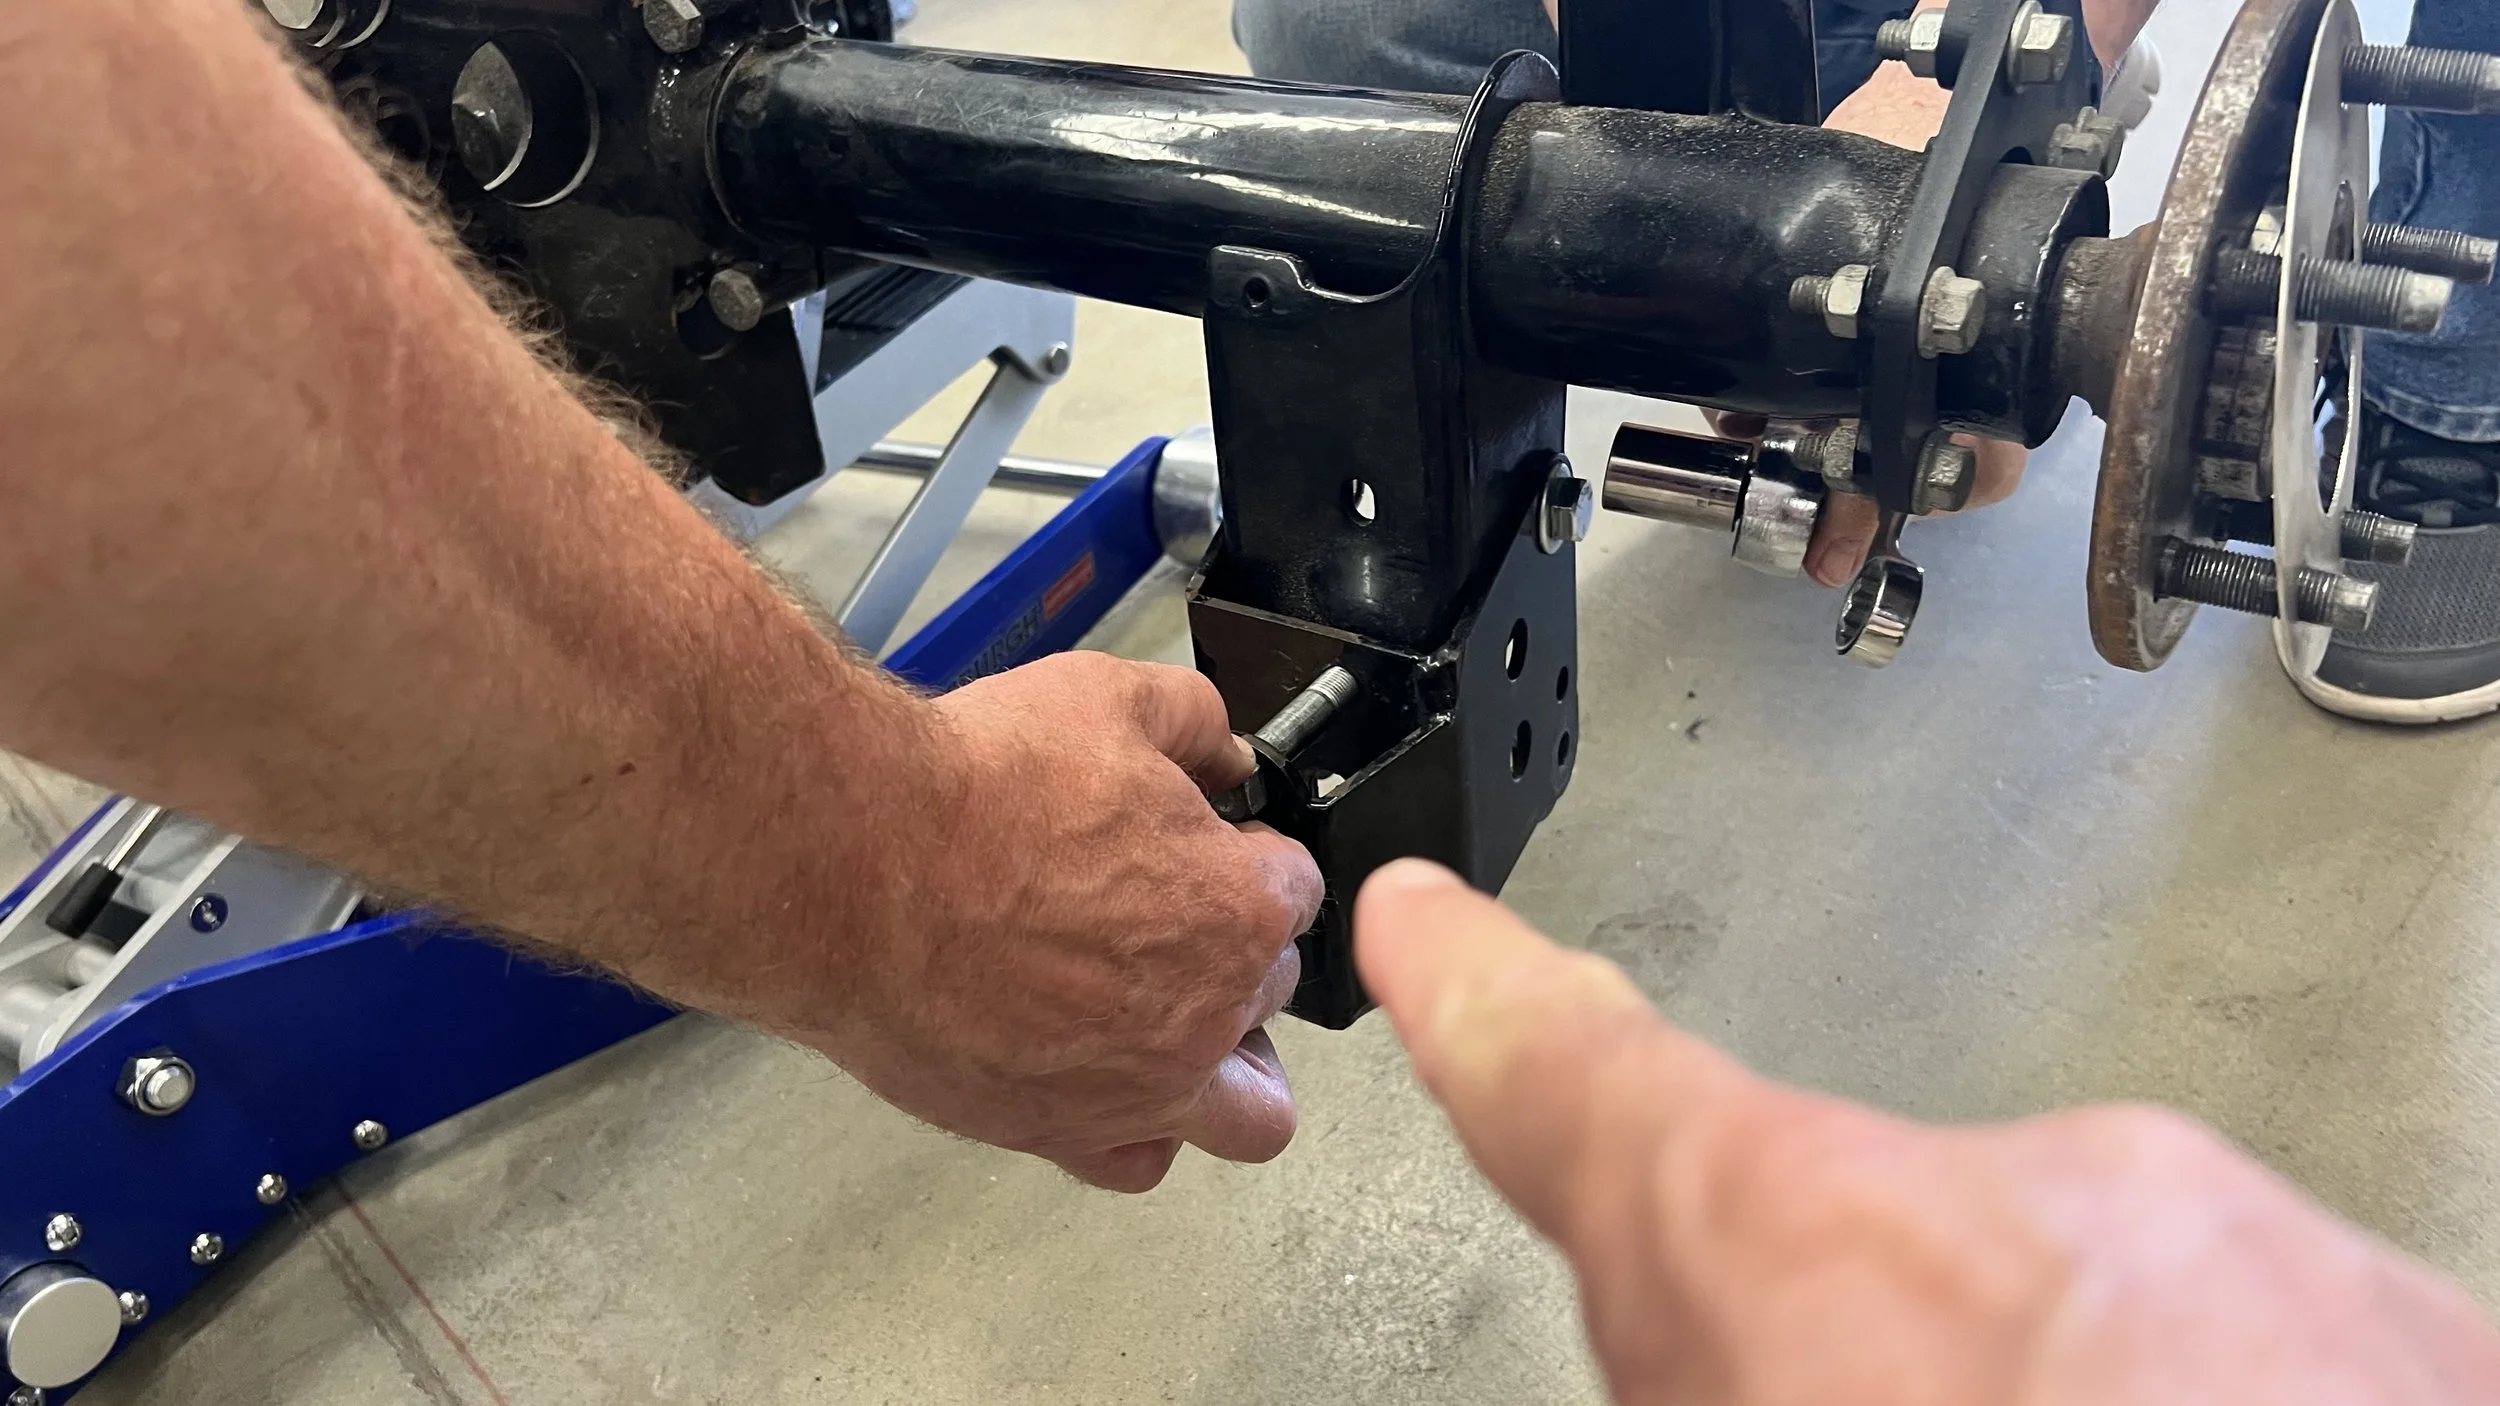
When it comes to the manual, the class was very clear in specifics to “adapt to”.
For the 3 link, the manual is not necessarily correct about adjusting the angle of the rear top control arm.
TIP Move the rear end in place with a motorcycle jack if you have one. I picked one up at Harbor Fright for about $150 (cant remember exact price).
Set up the rear end about 2 degrees down. “The easiest way to test and adjust is do a burnout! If the wheels hop, adjust it down. If they stick and go when you hit it - leave it alone! “- Exact quote from the instructors in class (will add names later with more details)


Steering Link
Install the steering link starting from the steering wheel. Once its all set correctly, take it back out. Before you do, you are going to want to take the joining set screws off one at a time. As you do, use a drill bit to put a divot in each link section where the screw so it leaves a “witness mark” in the linkage section. This way when the linkage is installed, the set screws make a mechanical lock on each section. Make sure you do not fuck with your steering! Brakes too, but we will get to that later. Create the mechanical lock in your linkage because you do not want your wheel popping off at any speed!
If using the electric power steering option, the 2nd bearing at the base of the steering linkage (not the one going through the firewall) gets omitted and the power steering motor mounts in that hole.


Pedal Box
IMPORTANT! When installing the brake cylinders on the pedal box assembly, get TWO reservoirs. More on this later but you don’t want front and rear brakes relying on just one cylinder.
Don’t “Y” off the fluid line for both front and rear. Same reason you have 2 cylinders. You need separate pressure for safety reasons. Make sure you do not fuck with your brakes! If you break a brake line you will still have stopping power from the second system.
Page 149 (as of 2024) don’t cut off the 5/8” on the threaded shaft! YET!
Thread it in with the nut on, to check the pedal hieght and pedal engagement. You may later find yourself cutting off more, or none because of leg length and seat type, etc. This is where you can really pay attention and drop the pedals back.
I plan on doing some extensive customizing here since I’m 6’2” and could use the leg room.
Well, that’s all to cover for now. Next up starting at the Gas Tank!